Schema markup improves how your Shopify store appears in search results by enabling rich snippets like product ratings, prices, and availability. This guide walks you through adding schema to Shopify themes, from understanding its importance to step-by-step instructions for implementation and testing.
Key Takeaways:
- Schema Types: Focus on Product, Breadcrumb, FAQ, Local Business, and Article schemas for better visibility.
- Preparation: Back up your theme, check existing schema, and gather tools like Google’s Rich Results Test.
- Implementation: Use JSON-LD format, dynamic Liquid variables, and Shopify’s templating system to customize schema.
- Validation: Test with tools like Google’s Rich Results Test to ensure accuracy and fix errors like missing properties or formatting issues.
- Tools: Use Shopify apps like Smart SEO or JSON-LD for SEO for automated schema generation, or manually code for more control.
By integrating schema markup correctly, you can improve your store’s search visibility and attract more customers.
How to Prepare for Adding Schema Markup to Shopify Themes

What You Need Before Adding Schema Markup
Before diving into schema markup, make sure you’re ready with a few essentials. First, ensure you have admin access to your Shopify store, a basic understanding of Liquid (Shopify’s templating language), and a full theme backup. To back up your theme, go to your Shopify admin, navigate to Online Store > Themes, click the three-dot menu next to your active theme, and select "Duplicate." Save this backup with a clear name like "Main Theme – Backup MM/DD/YYYY" so you can easily restore it if needed.
You’ll also need tools like Google’s Rich Results Test and Schema Markup Validator. These free resources are invaluable for testing your schema and catching any errors before they impact your site’s search performance.
Once you’re set with these tools, take a moment to review your theme’s existing schema markup. This step ensures you’re building on a solid foundation rather than duplicating or overwriting existing code.
How to Check Existing Schema in Your Theme
Most modern Shopify themes come with some built-in schema markup, but the level of implementation can vary depending on the theme’s developer and version. Start by checking your theme’s documentation or changelog for mentions of features like "structured data", "rich snippets", or "SEO enhancements."
To examine the schema already in place, go to Online Store > Themes > Actions > Edit Code in your Shopify admin. Use the search function (Ctrl+F or Cmd+F) to look for terms like 'application/ld+json' or '@type'. Focus on these key template files, as they often contain schema markup:
product.liquidorproduct-form.liquid: For product schema.collection.liquid: For collection and breadcrumb schema.article.liquid: For blog post schema.theme.liquid: For site-wide organization schema.
Once you’ve located the schema, test it using Google’s Rich Results Test. Simply visit a product page on your live site, copy the URL, and paste it into the tool. This will reveal the structured data Google detects and highlight any errors or missing properties. Take screenshots of these results to track your progress as you improve the schema.
If schema markup is already present, document your findings before making changes. Create a simple text file noting which pages have schema, the types of schema used, and any issues flagged during validation. This documentation will help you avoid redundancy and ensure you’re building on what’s already working.
Planning Your Schema Markup Implementation
With your current schema documented, you can now prioritize your implementation. Focus on pages that will have the biggest impact on search visibility. Product pages are usually the most important, as they can display rich snippets like pricing, availability, and ratings. After that, move on to collection pages, blog articles, and your homepage with organization schema.
When adding schema, pay attention to details like using "priceCurrency": "USD" and accurate decimal formats to ensure pricing displays correctly in search results.
Decide which schema types to use for key templates. For an e-commerce store, this might include:
- Product schema: For product pages.
- BreadcrumbList schema: For product and collection pages.
- Article schema: For blog posts.
- Organization schema: For the entire site.
If your business has physical locations, consider adding LocalBusiness schema to improve local search visibility.
Next, identify the dynamic content you’ll need to include in your schema. This could be product names, descriptions, prices, SKUs, brand information, or customer reviews. Knowing what data to pull from your store ensures your schema is accurate and reflects your inventory.
Finally, set up a testing schedule for gradual implementation. Start with high-traffic product pages, test the schema, and then roll out changes to collections and other areas. This step-by-step approach minimizes the risk of errors and ensures a smoother process overall.
Step-by-Step Guide to Adding Schema Markup
How to Access and Edit Theme Files
To get started, head to your Shopify admin panel and navigate to Online Store > Themes > Actions > Edit code. This will open the Shopify code editor, where you can add your schema markup.
The code editor organizes your theme files into folders like Layouts, Templates, Sections, and Snippets. Each folder has a specific role. For example, the Templates folder contains the main page templates (e.g., product pages, blog posts), while Sections houses reusable components that can appear on multiple pages.
When working on schema markup, you’ll primarily deal with these files:
- Product pages: Files like
product.liquid,main-product.liquid, orproduct-template.liquid(depending on your theme). - Blog posts: Files such as
article.liquidormain-article.liquid. - Site-wide schema: For organization or website markup, you’ll usually edit the
theme.liquidfile, adding code inside the<head>section.
If you’re unsure where to start, use the search bar in the code editor to quickly locate files with keywords like "product" or "article."
Before diving in, you’ll need to generate your schema JSON-LD using specialized tools.
Creating Schema Markup with Tools
With your theme files ready, use trusted tools to generate schema markup. Google’s Schema Markup Generator is a great place to start. Other options, like Rank Ranger’s Schema Generator and Technical SEO Generator, offer additional flexibility for customization.
When crafting product schema, ensure everything aligns with U.S. formatting standards. For example, set "priceCurrency": "USD" for prices and use periods as decimal separators. A product priced at $29.99 should be written as "price": "29.99".
Start with a basic schema template and generate JSON-LD code using one of these tools. Replace placeholders with dynamic Shopify data, such as product names, prices, and availability.
Here are some key schema types to create:
- Product schema: Include details like name, price, description, image, URL, availability, brand, and SKU.
- Blog article schema: Add properties like headline, author, publication date, and featured image.
- Organization schema: Include your business name, logo, contact details, and social media links.
Refer to Schema.org for a full list of required and recommended properties for each schema type.
Adding Schema Markup to Liquid Files
Once you have your JSON-LD template, replace static values with Shopify’s dynamic Liquid variables. Liquid is Shopify’s templating language that pulls real-time data from your store.
Here’s how to handle key elements for product schema:
- Product name: Replace static text with
{{ product.title | escape }}. Theescapefilter ensures special characters don’t interfere with your JSON structure. - Product URL: Combine your store’s base URL with the product path using
{{ shop.secure_url }}{{ product.url }}. - Price: Use
{{ product.price | money_without_currency | remove: ',' }}to format prices as clean numbers like "29.99." - Image: Use the
img_urlfilter for consistent image sizing, such as{{ product.featured_image | img_url: '800x800' }}. - Description: Strip HTML tags, escape special characters, and truncate text to 160 characters with
{{ product.description | strip_html | escape | truncate: 160 }}. - Availability: Use Liquid’s
if-elselogic to display stock status dynamically:{% if product.available %}for"InStock"or"OutOfStock". - Brand: Use
{{ product.vendor | escape }}for the product brand. - SKU: For products with variants, pull the SKU using
{{ product.selected_or_first_available_variant.sku | escape }}.
Wrap your JSON-LD code in <script type="application/ld+json"> tags and place it in the appropriate Liquid file. For example, insert product-specific schema near the top of the product.liquid file, just after any existing schema code.
Saving and Previewing Theme Changes
After adding your schema markup, click Save to make your changes live. Shopify automatically updates your theme, so the new schema should take effect immediately.
To confirm everything is working:
- Open a product page in a new browser tab and view the page source (right-click and select "View Page Source").
- Search for your JSON-LD code to ensure dynamic values (like product names and prices) are correctly populated. If you see Liquid variables like
{{ product.title }}instead of actual data, double-check your syntax.
Test your schema on both desktop and mobile devices to ensure it doesn’t disrupt page loading or layout. The schema should remain invisible to visitors but detectable by search engines.
For troubleshooting, open your browser’s developer tools (press F12) and check the Console tab for JavaScript errors related to your JSON-LD structure. Fix any issues before proceeding.
Finally, test schema markup across different product pages, especially for items with multiple variants. Ensure SKUs, availability, and other data display correctly for all products in your catalog. This step is crucial for stores with diverse inventory.
Shopify Structured Data (Ultimate Guide)
How to Validate and Test Schema Markup
Once you’ve added schema markup to your site, it’s essential to validate it. Proper validation ensures search engines can interpret your structured data correctly. Skipping this step could result in errors that prevent your rich snippets from showing up in search results.
Using Google’s Rich Results Test
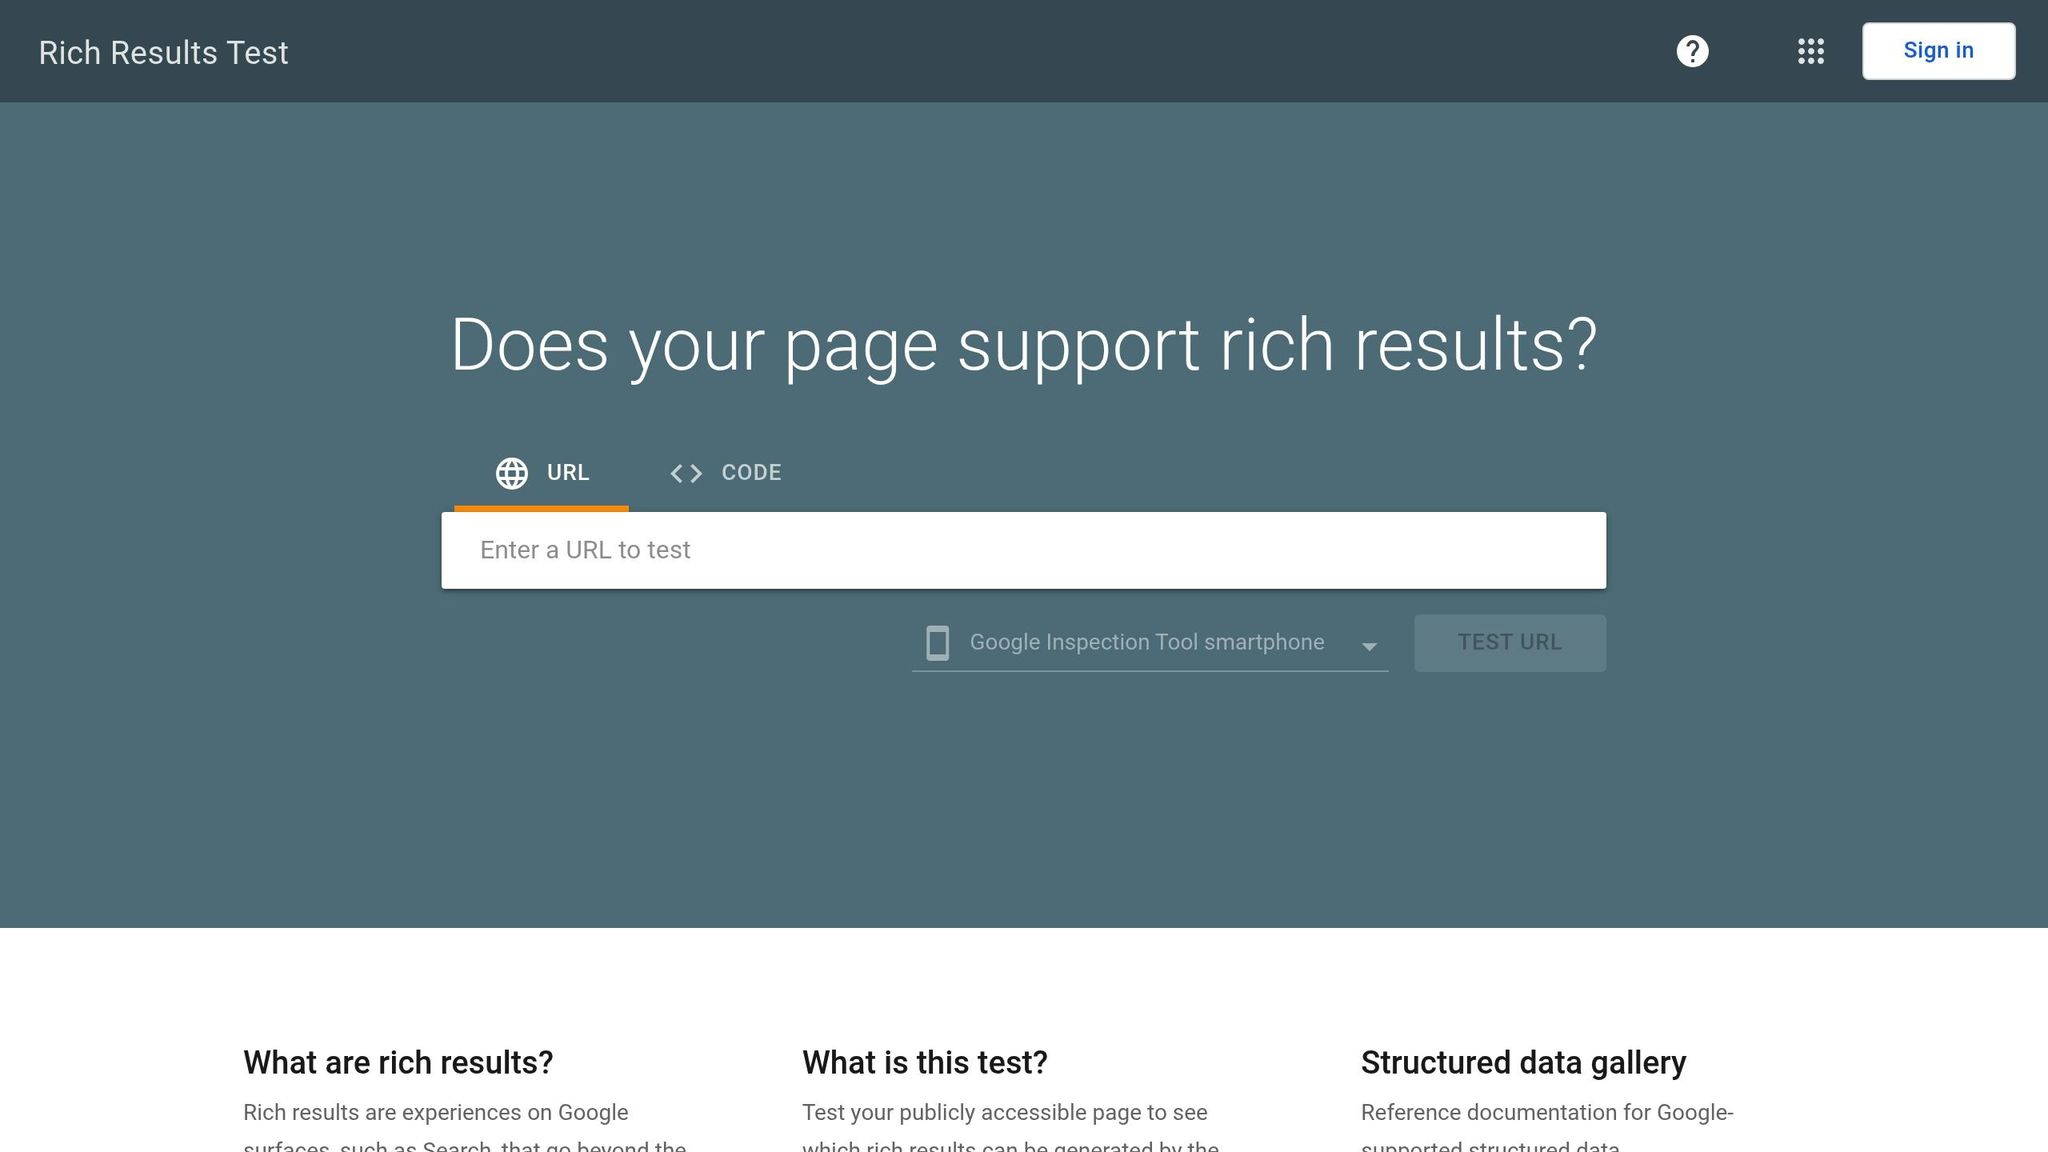
Google’s Rich Results Test is the go-to tool for checking schema markup. Head over to search.google.com/test/rich-results and input your product page URL. The tool will analyze your page and let you know if your schema qualifies for rich results.
Here’s what to focus on during testing:
- Product information: Make sure the tool displays your product’s name, price (formatted in USD), availability status, and star ratings (if applicable). This preview should include pricing and availability badges.
- Image validation: Ensure your product images meet Google’s requirements for size and format.
- Currency formatting: Prices should be displayed with a dollar sign and proper decimal notation, like "$29.99."
It’s a good idea to test multiple product pages, especially those with unique features – like sale prices, out-of-stock items, or products with multiple variations. Each page type may highlight different issues.
The tool also offers a mobile preview, which is crucial since much of e-commerce traffic comes from mobile users. Double-check that your schema works seamlessly across both desktop and mobile views.
For blogs, test article schema separately. Confirm that key details like the publication date, author, and featured image are correctly displayed. Article schema often qualifies for additional rich result types, such as carousels or enhanced snippets.
Once validation is complete, you can move on to fixing any errors.
Fixing Common Schema Errors
If errors pop up during testing, here’s how to tackle them:
- Missing required properties: This is one of the most common issues. For product schema, fields like name, image, and offers are mandatory. If you’re missing pricing information, use Shopify’s
{{ product.price }}variable in your JSON-LD structure to add it. - Invalid JSON syntax: Errors like missing commas, unclosed quotes, or incorrect brackets can break your schema. Use a tool like jsonlint.com to spot and fix these issues.
- Currency formatting issues: For U.S. stores, ensure the
"priceCurrency"property is set to"USD", and use periods (not commas) as decimal separators. For example, "$29.99" is correct, but "29,99" will fail validation. - Incorrect availability status: If your schema doesn’t accurately reflect inventory levels, you’ll need to adjust it. Test for all scenarios – products in stock, out of stock, and on backorder. Use dynamic values like
"InStock","OutOfStock", or"PreOrder". - Image URL problems: Always use absolute URLs for product images. For example, instead of a relative path, format your image URLs like this:
{{ shop.secure_url }}{{ product.featured_image | img_url: '800x800' }}. - Duplicate schema markup: If your theme already includes schema markup, adding new code without checking can cause conflicts. Review your theme’s existing schema and either modify or remove redundant code.
- Date formatting errors: For article schema, use ISO 8601 format. Shopify’s date filters, like
{{ article.published_at | date: '%Y-%m-%dT%H:%M:%S%z' }}, can help ensure proper formatting.
Warnings about optional properties – such as brand, SKU, or reviews – should also be addressed. While not required, these details can increase your chances of earning rich snippets.
After making changes, retest your schema using the Rich Results Test. The tool provides real-time updates, so keep testing and tweaking until you see the green "Valid" status for your schema.
Tools and Resources for Schema Markup
Implementing schema markup for your Shopify store can be made easier with the right tools and resources. Whether you’re comfortable with coding or prefer automated solutions, there are plenty of options to help minimize errors and save time.
Best Shopify Schema Apps
Shopify offers several apps designed to handle schema markup automatically. Here are some standout options:
- Smart SEO: This app provides a broad range of features, including automatic schema generation for products, organizations, and breadcrumbs. It also includes extra SEO tools like meta tag optimization and sitemap creation.
- JSON-LD for SEO: Specializing in structured data, this app generates clean JSON-LD code for products, articles, and local business details. It focuses solely on schema markup without additional SEO tools.
- Schema Plus for SEO: A middle-ground option that includes advanced features like review schema integration and support for custom schema types.
- TinyIMG: Known for image optimization, this app also offers product schema functionality, making it a dual-purpose tool for improving both image and structured data SEO.
Many of these apps offer free trials, allowing you to test their compatibility with your store’s theme before committing. Pricing usually ranges from $9.99 to $29.99+ per month. However, keep in mind that app-generated schema may not cover every unique need, particularly if your store has custom product attributes or specialized page types.
Manual vs. App-Based Schema Implementation
If you’re considering how to implement schema markup, you’ll need to decide between manual coding and using apps. Here’s a quick comparison to help you weigh your options:
| Factor | Manual Implementation | App-Based Implementation |
|---|---|---|
| Control | Full control over code structure and placement | Limited to app templates |
| Cost | Free (time investment only) | $9.99–$29.99+ per month |
| Technical Skill | High – requires knowledge of JSON-LD and Liquid | Low – point-and-click setup |
| Customization | Unlimited – create any schema type | Limited to app-supported schemas |
| Maintenance | Manual updates required | Automatic updates with product changes |
| Error Risk | Higher – syntax errors can cause issues | Lower – apps handle validation |
| Site Speed Impact | Minimal – only necessary code added | Variable – depends on app efficiency |
| Scalability | Developer time needed for updates | Easy scaling with app updates |
Manual coding is ideal for stores with specific needs or for developers who want complete control. On the other hand, app-based solutions are perfect for merchants who want reliable results without diving into technical details. A hybrid approach can also work well – use apps for standard product schema while manually adding custom markup for unique pages.
SearchX SEO Solutions for Shopify

To take your schema implementation further, SearchX offers a range of Shopify SEO services that go beyond basic schema tools. Their technical SEO services include detailed schema audits to identify missing or incorrect structured data across your store. This is especially valuable, as studies show that only 36% of websites using schema markup have it fully valid and error-free.
SearchX specializes in addressing Shopify-specific challenges, such as handling product variants and optimizing collection pages. Their audits don’t stop at schema markup – they also tackle site speed, mobile optimization, and crawl efficiency.
For those who prefer a DIY approach, SearchX provides local SEO resources with step-by-step guides. These include actionable examples for adding local business schema, covering everything from store location details to customer review integration. Their local business schema markup guide is particularly helpful for e-commerce businesses.
SearchX focuses on building long-term SEO strategies rather than offering quick fixes. With properly implemented schema, organic click-through rates can increase by up to 30%. Their team ensures your structured data aligns with broader SEO goals, enhancing both search visibility and user experience.
To keep up with evolving schema requirements and Google’s rich results criteria, SearchX also provides ongoing monitoring and optimization. This ensures your markup remains effective as search algorithms change, helping your store maintain its competitive edge in search results.
Conclusion
Schema markup plays a key role in strengthening your Shopify SEO strategy. By editing theme files, generating JSON-LD, and validating your efforts using Google’s Rich Results Test, you can achieve better search visibility and richer search listings.
You have two options: manually implement schema markup for greater control or opt for app-based tools for a more automated approach. Either way, doing it right can significantly enhance how your store appears in search results.
For Shopify stores looking to tackle SEO challenges head-on, SearchX’s technical SEO services provide in-depth audits tailored to Shopify’s unique needs. From handling product variants to fine-tuning collection pages, their expertise covers it all.
Start by focusing on essential schemas like product and organization data, then expand to include breadcrumbs and reviews as your store grows. When implemented correctly, schema markup can elevate your search performance and help attract the right customers to your store.
FAQs
What is schema markup, and how can it improve my Shopify store’s search visibility?
Schema markup is a form of structured data designed to help search engines better interpret the content of your Shopify store. By implementing schema markup, you can unlock rich snippets in search results – these are the extra details like product ratings, prices, availability, or FAQs that make your listing stand out. These visually enhanced search results can grab attention and lead to higher click-through rates, ultimately driving more visitors to your store.
Although schema markup doesn’t directly improve your search rankings, it plays a key role in how your content appears in search results. By making your listings more informative and engaging, it becomes easier for potential customers to discover and interact with your store. This simple yet effective tweak can set your Shopify store apart in search visibility.
How can I make sure the schema markup I add to my Shopify theme works correctly and qualifies for rich results on Google?
To make sure your schema markup is set up correctly and eligible for rich results, use tools like Google’s Rich Results Test and the Schema Markup Validator. These tools are great for spotting syntax errors and ensuring your markup aligns with schema guidelines.
If any issues are flagged, take the time to review them thoroughly. Fix errors and double-check that your schema types are ones supported by Google. Getting this right can improve your chances of showing up as rich results in search, giving your store more visibility.
Should I add schema markup to my Shopify store manually or use an app? What are the pros and cons of each?
Manually adding schema markup to your Shopify store gives you full control over how the markup aligns with your content. This method lets you customize everything down to the smallest detail. That said, it does require a solid understanding of coding and can take a fair amount of time to set up and keep updated.
On the other hand, using a Shopify app to handle schema markup is a quicker, more beginner-friendly solution. These apps are designed for ease of use, often featuring automatic updates and straightforward installation. However, they might not offer the same level of customization and could sometimes clash with other apps you’ve installed.
Ultimately, the choice comes down to your comfort with technical tasks and whether you prioritize customization or ease of use for your store.