If your website’s pages are missing from Google search results, noindex tags might be the culprit. These tags tell search engines not to index a page, and when used incorrectly, they can harm your site’s visibility, traffic, and revenue. Here’s what you need to know:
- What Causes Noindex Issues?
- Website migrations often leave staging settings (noindex tags) on live pages.
- CMS configurations like privacy settings or draft statuses can unintentionally hide pages.
- Plugins or themes may add noindex tags without your knowledge.
- How to Fix It:
- Use Google Search Console to find affected pages.
- Remove noindex tags from HTML, server headers, or CMS settings.
- Update your sitemap and request a new crawl in Google Search Console.
- Prevent Future Problems:
- Regularly audit your site’s index settings.
- Use a deployment checklist when migrating sites.
- Set up automated alerts to catch unauthorized noindex changes.
How to Fix Excluded by ‘noindex’ tag – Search Console Page Indexing (UPDATED)
Why Pages Get Noindex Tags
Unintended noindex tags can appear for several reasons. Here’s a breakdown of the most common causes:
Website Migration Errors
During website migrations, staging environments are often set to noindex to keep incomplete content hidden from search engines. However, problems can arise when these settings accidentally make their way into the live site. Common issues include:
- Carrying over staging configurations to the production site
- Failing to update the robots.txt file after launch
- Leaving behind meta tags from the staging phase
To avoid these mistakes, always use a thorough post-migration checklist to catch and remove staging-related noindex tags.
CMS Setting Problems
Content Management Systems (CMS) can unintentionally apply noindex tags due to specific settings or configurations. Here’s how it happens:
| Setting Type | Effect | Common Trigger |
|---|---|---|
| Privacy Options | Blocks entire sections | "Private" mode enabled globally |
| Archive Settings | Hides category pages | Default archive visibility set to hidden |
| Post Status | Excludes individual pages | Pages left in draft status after publishing |
Understanding your CMS settings and reviewing them regularly can help you avoid these pitfalls.
Plugin and Theme Issues
Third-party plugins and themes can also introduce unintended noindex tags. Here’s how:
- Conflicting plugins might override your intended settings
- Theme configurations may automatically apply noindex tags
- Automatic updates can reset custom configurations
To prevent these problems, conduct regular audits of your website’s technical SEO setup and maintain clear documentation of your index/noindex rules for different types of pages. Up next, we’ll dive into the exact steps to fix these issues.
How to Fix Noindex Problems
You can resolve noindex issues using tools like Google Search Console and your CMS.
Finding Affected Pages in Google Search Console
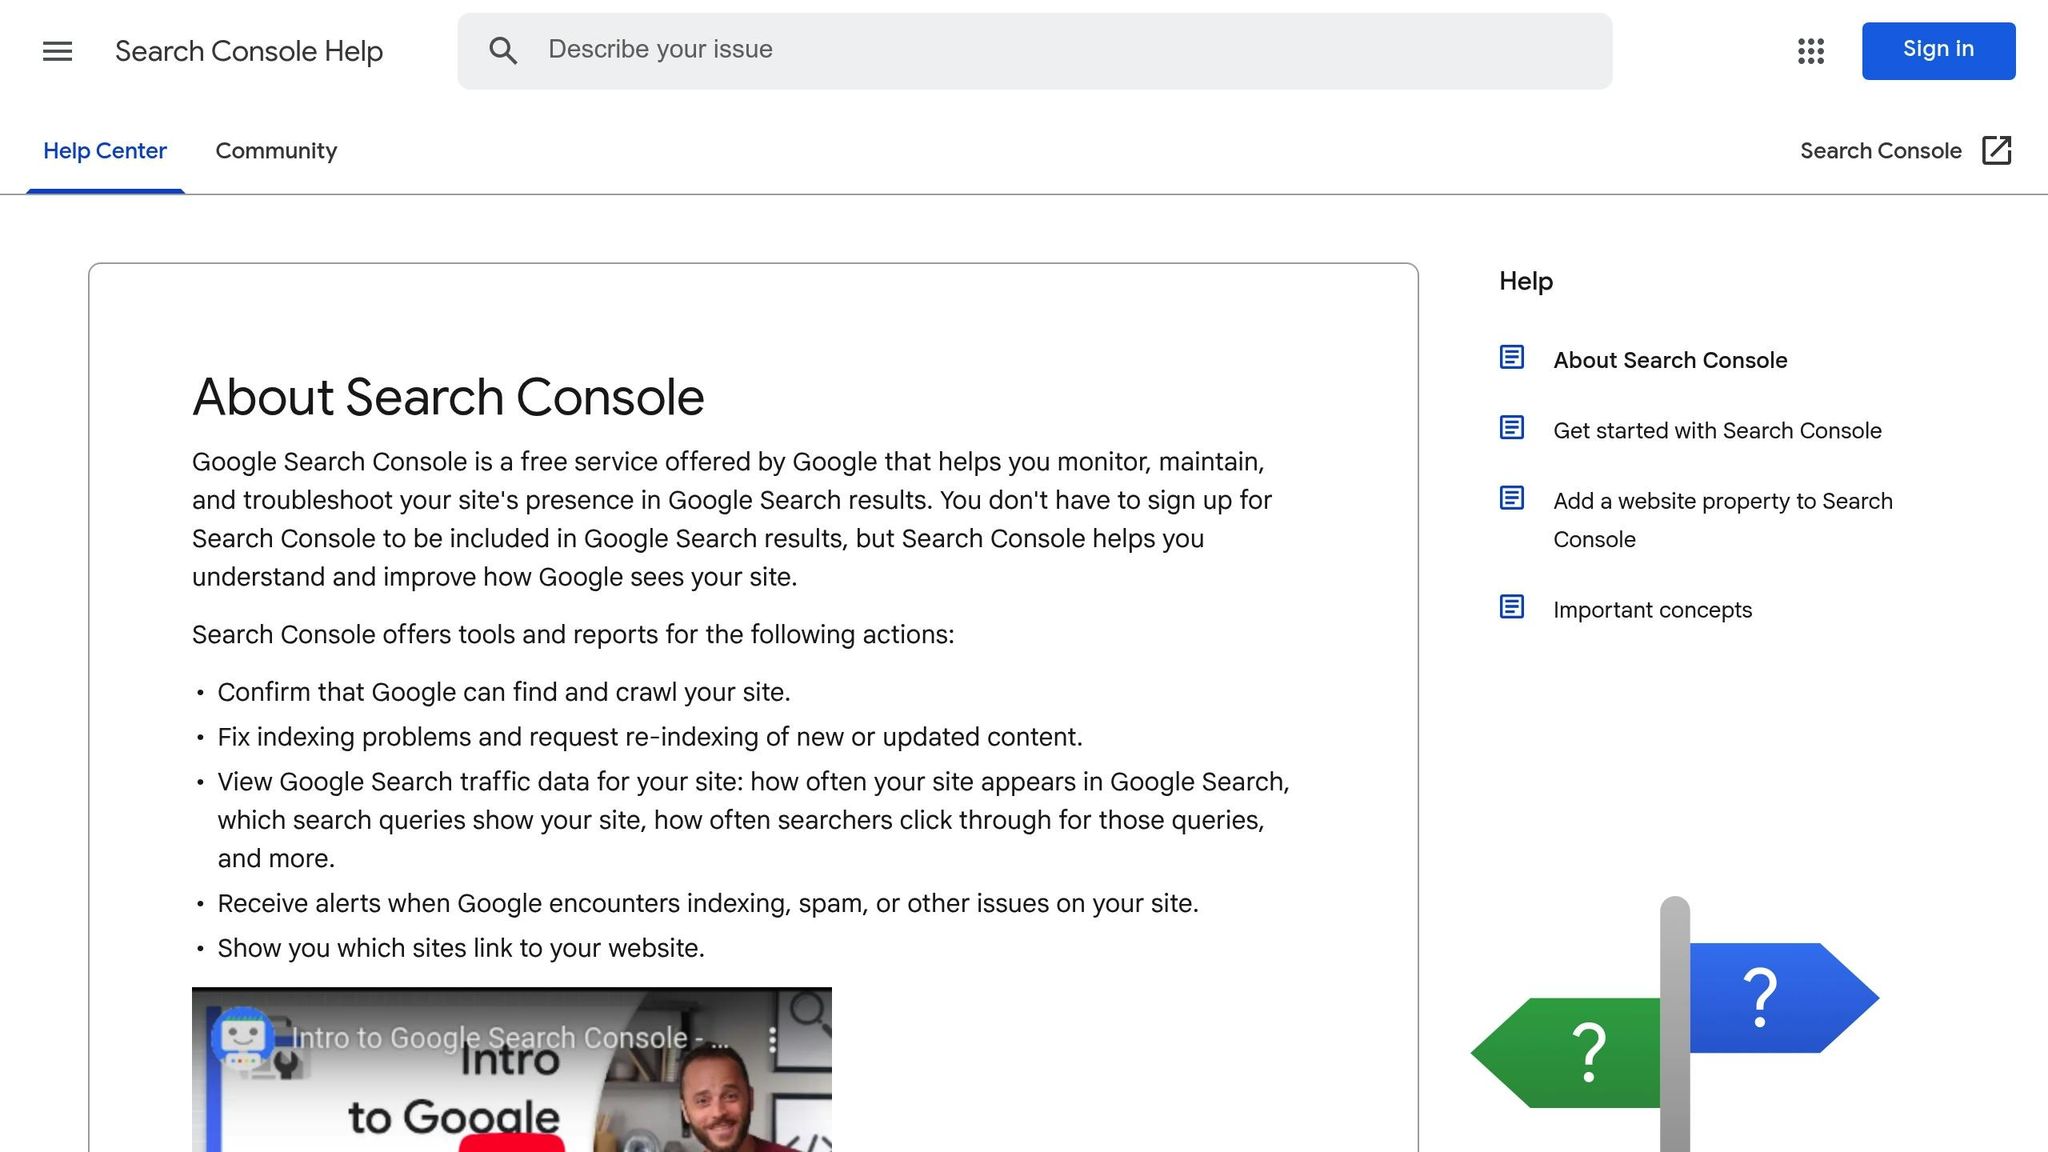
Start by opening Google Search Console to locate pages blocked by noindex tags. Go to the Index > Coverage report, filter for pages excluded due to the noindex tag, and export the list for review.
Fixing Noindex Tags
The steps to remove noindex tags depend on how they were applied. Here’s how to handle each scenario:
| Implementation Type | Location | Fix Method |
|---|---|---|
| Meta Tags | Page HTML | Remove <meta name="robots" content="noindex"> |
| HTTP Headers | Server Config | Adjust X-Robots-Tag header settings |
| Robots.txt | Root Directory | Edit or delete "Disallow" directives |
| CMS Settings | Admin Panel | Change indexing settings to "Allow" |
For WordPress users:
- Go to Settings > Reading.
- Uncheck the box labeled "Discourage search engines from indexing this site."
- Save your changes.
- Double-check individual page settings in your SEO plugin for any lingering noindex tags.
Updating Sitemaps and Requesting New Crawls
After removing noindex tags, update your XML sitemap and request a new crawl to reflect these updates.
1. Update Your XML Sitemap
Regenerate your sitemap to include all pages that are now indexable. Most SEO plugins can do this automatically. Double-check that the previously excluded pages are now part of the sitemap.
2. Submit the Updated Sitemap
In Google Search Console:
- Go to the Sitemaps section.
- Remove outdated sitemaps.
- Submit the newly generated sitemap.
- Keep an eye on the "Status" column to confirm successful processing.
3. Request URL Indexing
For pages that need immediate attention:
- Open the "URL Inspection" tool in Search Console.
- Enter the URL you want indexed.
- Click Request Indexing.
- Check the Coverage report to monitor the status.
Checking Your Fixes
After addressing noindex issues, it’s important to ensure your pages are properly indexed.
Reviewing Index Coverage Data
Use the Index Coverage report in Google Search Console to confirm that previously excluded pages are now marked as valid. Focus on these key areas:
| Status | What to Check |
|---|---|
| Pages with Index Status | Verify that pages move from "Excluded" to "Valid". |
| Crawl Errors | Ensure errors related to noindex issues are decreasing. |
| Indexing Requests | Review the results of any manual URL submissions. |
Testing Individual URLs
For more detailed checks, analyze individual URLs with these methods:
- URL Inspection Tool: Confirm the URL is accessible to Google and indexing is enabled.
- View Page Source: Look at the HTML source to ensure the noindex tag has been removed.
- Live Test: Use the "Test Live URL" feature to see how Google renders the page in real time.
Monitoring Index Status
Keep a close eye on your index status to catch any new issues early:
Daily Tasks:
- Check the status of indexing requests.
- Keep an eye on trends in the Coverage report.
Weekly Tasks:
- Export and compare Coverage reports for any changes.
- Record any fluctuations or irregularities.
Set up Google Search Console alerts to stay informed about key changes, such as:
- Pages reverting to "Excluded" status.
- Sudden spikes in coverage issues.
- Newly detected noindex-related problems.
Preventing Future Noindex Issues
Managing noindex tags properly can help you avoid accidental exclusions that might harm your site’s visibility.
Staging Site Rules
Here’s how to handle noindex settings across different environments:
| Environment | Required Setting | Check |
|---|---|---|
| Staging | Enable site-wide noindex | Daily automated checks |
| Production | Individual page controls | Weekly manual review |
| Development | Password protection | Pre-deployment audit |
When transitioning from staging to production, always use a deployment checklist. Make sure verifying noindex tags is part of it to prevent issues that could impact your live site.
Regular CMS Checks
Regular reviews in your CMS are essential to ensure your site’s pages are properly indexed. Here’s a suggested schedule:
- Weekly: Check robots.txt, meta tags, and plugin settings.
- Monthly: Audit any plugins that might influence indexing.
- Quarterly: Conduct a full review of all SEO-related settings.
Document proper noindex tag usage for your team. Include clear guidelines on when these tags should and shouldn’t be used.
Using SEO Tools
While manual reviews are important, automated tools can provide an extra layer of protection. Tools like SearchX offer monitoring features that can quickly spot issues with noindex tags.
Key features to implement:
| Monitoring Type | Frequency | Action Items |
|---|---|---|
| Crawl Reports | Weekly | Track configuration changes |
| Index Status | Weekly | Compare against baseline data |
| Configuration Alerts | Real-time | Immediate notifications |
Set up automated checks to flag unauthorized changes to robots meta tags. Combining these tools with manual reviews ensures a more reliable system.
Summary
To recover and safeguard your site’s indexing, it’s crucial to address noindex issues effectively and maintain ongoing monitoring.
Properly managing noindex tags ensures your site stays visible and retains traffic.
Here’s how to fix noindex issues in three key phases:
| Phase | Actions | Outcome |
|---|---|---|
| Detection | Use Search Console and conduct audits | Identify indexing problems quickly |
| Resolution | Remove incorrect tags, update sitemaps, and request crawls | Regain search visibility |
| Prevention | Set staging rules and automate checks | Maintain healthy indexing |
These steps are essential for a strong SEO maintenance plan.
"You’re not paying for a checklist of tasks; you’re paying for outcomes. We’re relentless in our pursuit of success and adjust strategies based on what’s getting you results – whether that’s new tactics, shifting focus, or doubling down on winning strategies." – SearchX
Maintaining indexation requires consistent effort. Focus on these practices:
- Technical compliance: Ensure your site aligns with search engine standards.
- Regular audits: Review meta tags and index status weekly.
- Automated alerts: Set up notifications to catch unauthorized noindex changes in real time.
FAQs
How can I check if my website’s pages are being excluded from search engines due to noindex tags?
To find out if your website’s pages are excluded from search engines because of noindex tags, you can try these methods:
- Inspect the page’s HTML source code: Look for the
<meta name="robots" content="noindex">tag. - Use Google Search Console: Check the Index Coverage report to see if any pages are flagged as "Excluded by ‘noindex’ tag."
- Run an SEO site crawl: Use SEO tools to scan your site and identify pages with noindex directives.
These steps will help you quickly pinpoint and address any noindex issues affecting your site’s visibility in search results.
How can I prevent noindex tags from unintentionally impacting my site’s visibility during a website migration?
To avoid noindex tags unintentionally harming your site’s visibility during a migration, it’s important to carefully audit and manage their use. Start by reviewing all pages marked with noindex before the migration to ensure the tags are applied intentionally. During the migration process, double-check that noindex tags are not mistakenly applied to important pages, such as those driving traffic or conversions.
After the migration, conduct a thorough crawl of your site to identify any unintended noindex tags. Tools like technical SEO crawlers can help detect these issues quickly. Regularly monitor your site’s performance in search engine results to catch and resolve visibility issues early. Proper planning and post-migration audits are key to maintaining your site’s online presence.
How can I monitor and stop unauthorized changes to noindex tags on my website?
To monitor and prevent unauthorized changes to noindex tags on your website, consider using a combination of tools and proactive strategies. Tools like website monitoring software or SEO audit platforms can help you track changes to your site’s metadata and alert you if any noindex tags are added or modified unexpectedly. Regularly scheduled technical SEO audits are also essential to catch any issues early.
Additionally, restrict access to your website’s backend by assigning permissions only to trusted team members and using strong, unique passwords. Implementing version control systems or logging tools can also help you track who made changes and when, giving you better control over your site’s settings.